









To generate an Elementor website with AI on WordPress, I give Codex a clear brief, approved content, design references, and access to supported Elementor tools through MCP. It inspects the website, builds or updates editable page elements, and helps refine the result. I then review the content, responsive layouts, and interactions before publication.
During October 2026, I used this workflow at Webgate for landing pages, reusable components, calls to action, case-study updates, and an internal prototype. Some projects began with a Claude design. Others started with an existing page or a specific problem on mobile.
The most useful starting point was a clear decision about what the page needed to achieve and which existing design, content, or component should guide the work.
Key takeaways
- Existing pages and components give AI a concrete design reference.
- Elementor MCP supports native editing, but some requirements still need the editor, WordPress tools, or supplemental code.
- Short correction prompts work well once the page, section, and intended outcome are clear.
- A saved draft, a tested page, and a published update are separate milestones.
- My estimated 6–7-hour Studio workflow applies to one landing-page project, not every Elementor website.
Based on work completed or reviewed during October 2026. Drafts, published updates, and prototypes are identified below.
In this article
- Which Elementor AI workflow fits your task?
- How Codex and Elementor MCP work together
- Six examples from my Elementor projects
- How I build and update Elementor pages with AI
- How long does an AI-assisted Elementor build take?
- An Elementor AI prompt you can adapt
- Frequently asked questions
- Apply the workflow to your website
Which Elementor AI workflow fits your task?
Choose the starting point according to what already exists. An established website provides reusable design decisions. A new visual direction needs a more complete reference. An existing-page update needs precise boundaries around what should change.
| Task | Best starting point | What to review |
|---|---|---|
| New page on an existing website | Approved copy and relevant existing pages | Design consistency, section completeness, responsive layout |
| Landing page from a Claude design | Approved preview, source export, and assets | Visual fidelity, editability, working interactions |
| Reusable component | Visual reference and interaction requirements | States, keyboard access, mobile behaviour, dependencies |
| CTA or shared-template improvement | Exact page, section, and intended change | Visibility, responsive treatment, effects on other pages |
| Case-study update | Approved copy, evidence, and media | Story clarity, media behaviour, URLs and SEO settings |
| Interactive prototype | Visual reference and defined behaviours | Motion, contrast, controls, mobile usability |
A screenshot can explain appearance. It cannot fully specify how a form submits, a carousel responds to touch, or a shared template affects other pages. Those details belong in the brief.
How Codex and Elementor MCP work together
In my workflow, Codex interprets the brief and carries out implementation tasks. Elementor provides the editable website structure. MCP, short for Model Context Protocol, connects the AI tool to supported Elementor operations.
This guide covers external AI agents working through Elementor MCP. It focuses on creating and improving editable pages inside an existing WordPress setup. Hosting, content approval, integrations, and launch checks are separate parts of the project.
Elementor’s documentation describes support for inspecting and building native elements, working with global styles, and managing supported templates. The available tools depend on the installed setup and permissions. Start with the official Elementor MCP connection instructions and inspect what your site actually exposes.
My October implementations combined Elementor MCP with editor access, WordPress tools, and occasional supplemental code. That distinction matters when deciding who will maintain the result.
Editable headings, images, buttons, and layouts can stay in Elementor. A custom interaction may have a separate code dependency. I want both identified before handover.
For connection instructions, see our Elementor MCP setup guide.
Before you start: prepare a WordPress site with Elementor, a supported MCP connection, an AI client with permission to edit the intended content, and approved copy and design references. For substantial changes, use a staging site or reviewable draft and keep a recoverable backup.
Six examples from my Elementor projects
1. Building a landing page from existing Webgate components
For one Webgate landing page, I already had the wireframe and copy. The task was to build a page that felt consistent with the existing website.
I asked Codex to inspect our homepage, Elementor Agency page, and AI Agency page before implementation. The references covered headings, buttons, cards, testimonials, project sections, CTAs, and spacing.
The principle in my prompt was:
“Reuse > adapt > create new.”
The result was a 13-section Elementor draft with native editable containers. A second pass focused on consistency:
“Update styling of the components. I want same styling and UX as on homepage”
That refinement aligned the accordion, project framing, testimonials, buttons, and final CTA more closely with the homepage.
Outcome: An unpublished draft with reported desktop, tablet, and mobile checks. Safari and Firefox still required manual review, and a shared menu overflow issue was tracked separately.
What I learned: Asking AI to inspect specific existing pages gives it a more useful starting point than asking it to interpret the brand from a short description.
2. Turning a Claude design into the Webgate Studio landing page
The Elementor version of Webgate Studio started with a new visual direction. I prepared the structure and copy, refined the design in Claude, and supplied Codex with the public preview and exported project ZIP.
The preview showed the intended experience. The export provided assets, styles, and implementation details.
The scope included the landing page, header, footer, responsive layouts, and hover effects. Elementor held the editable page structure; WordPress tools and a supplemental plugin handled other parts of the implementation.
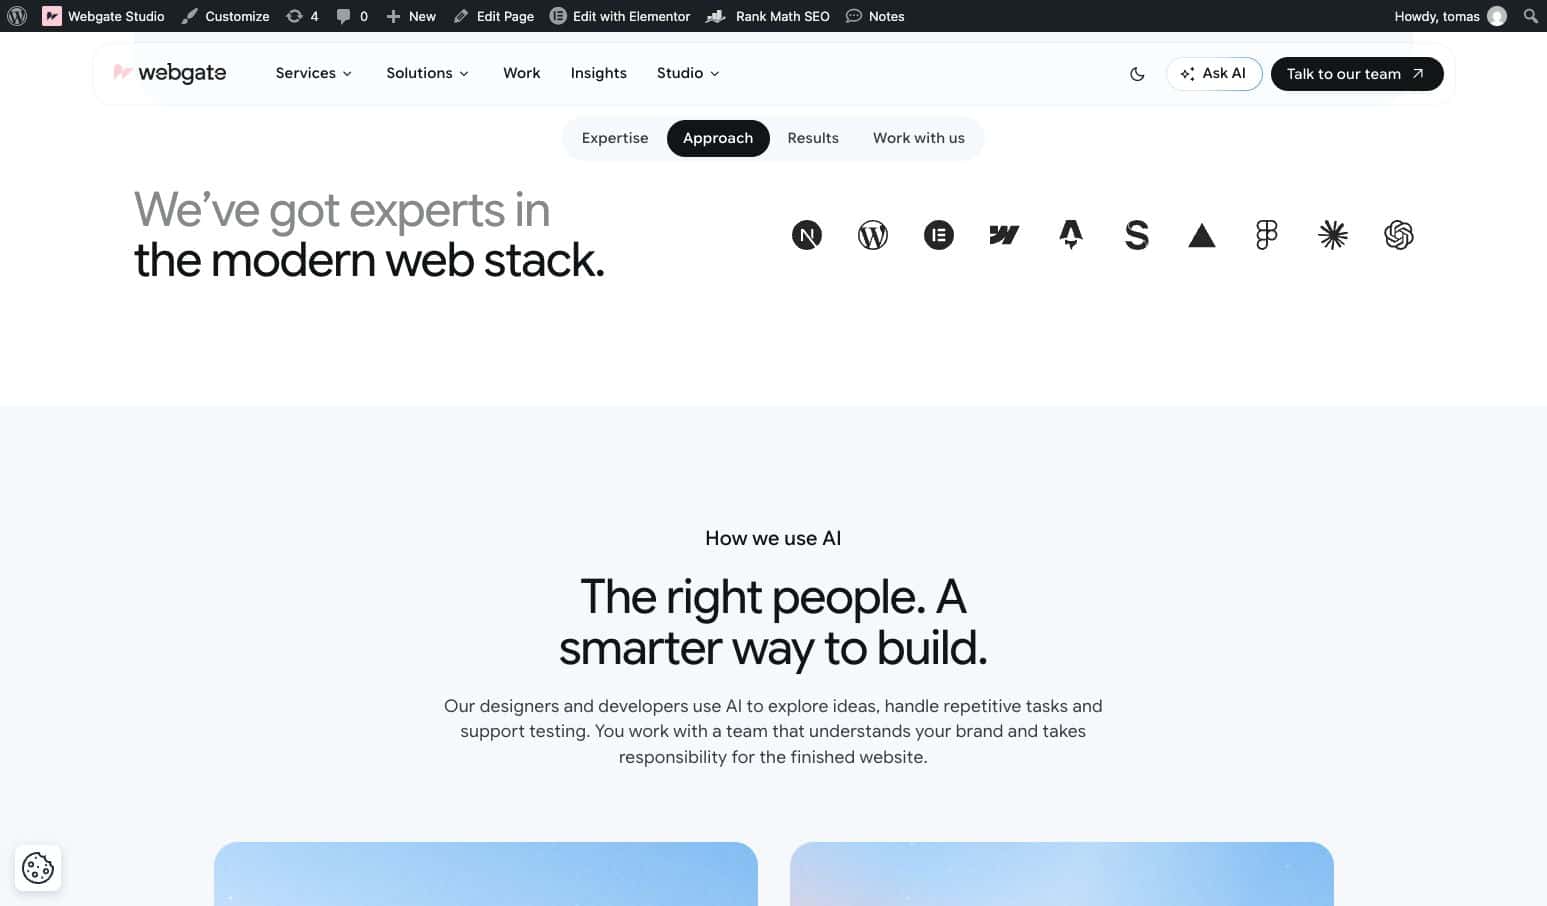
My review produced concrete corrections:
“insights section is missing”
“fix arrows in carousels”
“on mobile – fix vertical paddings – make them more compact. for first 4 sections”
Outcome: Publication on the Elementor development domain, studio.webgate.codes. This was separate from the later Next.js implementation of Webgate Studio.
What I learned: A complete design reference helps direct the build, but comparing the implementation with that reference remains part of delivery.
Roman’s Claude design to Elementor guide explains the technical implementation route in more detail.
3. Creating reusable tabs and carousel components
A reusable component needs more than a visual match. It needs predictable behaviour wherever it appears.
For a timeline component, I supplied a reference and requested Webgate colours, typography, and spacing. The implementation used four native Elementor tabs, with horizontal timelines on desktop and vertical timelines on mobile.
Review caught an icon-alignment conflict. Tab switching and keyboard navigation were also checked before publication to the component page.
A separate exercise produced startup-story carousel and programme-card components. Those used editable Elementor content with a scoped helper for carousel behaviour and artwork.
Outcome: The timeline was published to the component page. The carousel and programme cards remained in a review draft; physical touch testing was unverified.
What I learned: Define the component’s states and controls alongside its appearance. Before reuse, document any helper code it needs.
4. Improving a CTA and a shared case-study template
On the Elementor Growth page, I wanted a small case-study section to work more clearly as a call to action.
After providing screenshots and requesting a stronger CTA treatment, I followed up with:
“make the section bigger”
The card increased from 608 to 1,040 pixels wide, with a larger image, headline, and padding. On mobile, the image stacked above the copy.
Another request in the same session involved an animated case-study hero. Inspection showed that the hero belonged to a shared template, so changing it affected other case studies too.
The animation widget required the Elementor editor because the available MCP operations could not edit it.
Outcome: A focused CTA improvement and a shared-template change using an editor fallback.
What I learned: Establish whether a request affects one page, one reusable component, or every page using a template before making the change.
5. Updating the Bloomreach and Veridas case studies
I used Codex to improve the Bloomreach and Veridas case-study pages on Webgate’s website. These examples concern our presentation of the projects, not AI builds of the clients’ own websites.
For Bloomreach, the work covered clearer copy, styling, heading treatments, and videos in the Challenge and Solution sections.
For Veridas, it included performance screenshots, video, a testimonial, and simpler KPI labels. One correction was:
“make these KPI more human readable”
The approved updates were applied to the original URLs. The Veridas record also documents preservation of SEO settings and content relationships.
Mobile review exposed an unexpected issue: opening the Bloomreach page on an iPhone could trigger video from another project. Codex identified hidden related-case-study videos as the likely cause and adjusted their mobile autoplay behaviour.
Outcome: Published case-study updates. Browser checks supported the video fix; confirmation on the physical iPhone remained outstanding.
What I learned: Review the story, page structure, and media behaviour together. A content update can expose an interaction problem that screenshots will not reveal.
6. Testing motion in an internal prototype
An internal prototype let me explore layout, tabs, hover states, and scroll behaviour without treating the result as a finished client website.
After the initial implementation, I requested better logo contrast and a revised transition into the second section. The logos became white, and the second panel expanded from an inset rounded shape to full width during scrolling.
Native content remained editable in Elementor, while scoped CSS and JavaScript supplied additional interactions.
Outcome: An internal prototype. Responsive and keyboard checks were reported; some hover and operating-system reduced-motion checks remained manual.
What I learned: Motion needs to be reviewed in use. A still image cannot show whether a transition starts correctly or makes the content harder to use on a phone.
How I build and update Elementor pages with AI
Step 1. Define the outcome and reference
Start with the visitor’s task and the exact scope.
For a new landing page, provide approved copy, assets, section requirements, and the intended CTA. For an existing page, identify the URL, the problem, and the content or settings that must be preserved.
Choose a clear reference: an existing page, an approved design export, or a screenshot with an explanation of the required behaviour.
Step 2. Inspect before building
Ask the AI to inspect the relevant page structure, global styles, components, and templates.
This establishes what can be reused, which changes have shared effects, and whether the available tools support the requested work.
For broader content organisation, our WordPress posts and archives workflow shows how this inspection extends to content types and archive templates.
Step 3. Create a reviewable version
For a new page or substantial change, prepare a draft that can be opened in Elementor and previewed in a browser.
Review copy and layout together. Confirm where routine content stays editable and where custom code is involved.
A successful save is a useful milestone, but it does not establish that the page meets the brief.
Step 4. Give specific feedback and test behaviour
Tie corrections to an identifiable section and outcome.
“Reduce the vertical spacing in the first four mobile sections” is easier to implement and verify than “make mobile better.”
Check the interactions the page actually uses: navigation, buttons, forms, tabs, carousels, video, and keyboard controls. Review desktop, tablet, and mobile separately, and record any checks that remain incomplete.
Step 5. Publish and verify the saved result
Before publication, confirm the intended URL and any SEO fields, relationships, form settings, or tracking that must survive.
After publication, open the page as a visitor. Check that the saved content appears, links and forms work, and caching has not hidden the changes.
For shared-template work, inspect representative affected pages as well as the original target.
When the same change needs to reach several pages, use the scoped inspection and verification approach in our guide to bulk Elementor updates with Codex and MCP.
How long does an AI-assisted Elementor build take?
My estimate for the Webgate Studio landing-page workflow was approximately 6–7 hours, including planning, design, implementation, testing, and refinements.
| Stage | Estimated time |
|---|---|
| Strategy, wireframe, and copy | 1 hour |
| Design system using existing brand fundamentals | 1 hour |
| Page design | 2–3 hours |
| Elementor implementation, testing, and refinements | 2 hours |
| Total | 6–7 hours |
This was my estimate for that specific project. It was not a controlled benchmark, a complete multi-page website estimate, or a delivery promise.
I do not have comparable measured totals for every example in this article. Existing components, content readiness, integrations, and review requirements all change the workload.
The practical lesson is to budget for review. Missing sections, mobile spacing, carousel controls, and unexpected video behaviour were part of the work needed to make these results usable.
An Elementor AI prompt you can adapt
This template is a new synthesis of the workflow above, rather than a verbatim historical prompt.
Use the connected Elementor tools to build or update
[page or component] on [development URL].

Goal
Help [audience] understand or complete [visitor outcome].

References
Use [approved copy, existing pages, design export,
screenshots, and assets].

Inspect first
Read the current page structure, global styles,
reusable components, and shared templates.
Identify what can be reused and any shared dependencies.

Scope
Implement [specific changes].
Preserve [content, URL, SEO fields, forms, tracking,
and content relationships].

Build
Use native editable Elementor elements where supported.
Identify any requirements needing editor access,
other WordPress tools, or supplemental code.

Review
Compare the result with the reference on desktop,
tablet, and mobile.
Test the relevant links, forms, tabs, carousels,
video behaviour, and keyboard controls.

Handover
Provide the preview and editor links, completed checks,
remaining issues, and custom-code dependencies.
Keep the work as a draft unless publication is
explicitly authorised.
Once that context is established, short follow-up prompts can be effective. “Make the section bigger” worked because the target section and previous version were already clear.
For a new task, supply that context again.
Frequently asked questions
Yes. Supported Elementor MCP operations can create and update native Elementor structures through a connected AI tool. Editability depends on the implementation: content and layouts can remain native, while some custom interactions may require separate code. Check both before handover.
No. I used a Claude design for the Studio landing page, but other tasks started from existing Webgate pages, approved copy, screenshots, or a specific issue. Choose the reference that best explains the required result.
Do not assume that every element or operation is supported. My October projects included widgets and tasks that required the editor, other WordPress tools, or supplemental code. Inspect the connected site’s actual capabilities before deciding on the implementation.
Yes. My examples include CTA changes, shared templates, case-study content, video behaviour, and mobile fixes. Define the exact scope and inspect shared dependencies before editing an existing site.
A broad prompt may produce an initial version, but my work required inspection, implementation, feedback, and testing. Plan separate checks for content, responsive layouts, integrations, and publication instead of treating initial generation as the finished website.
No. Review the page’s content, headings, internal links, metadata, indexability, mobile experience, and performance. Google’s guidance says established SEO practices also apply to its AI search features; there is no special AI markup that guarantees inclusion. See Google’s guidance on AI features and websites.
Apply the workflow to your website
Start with one clearly defined page or improvement: a campaign landing page, an approved design ready for Elementor, or an existing section that needs to work better.
Bring your current URL, content, design references, and required integrations. We can help define the scope, reuse the right components, and deliver an editable result with the review it needs.


